#ad: This post contains affiliate links. As an Amazon Associate I earn from qualifying purchases.
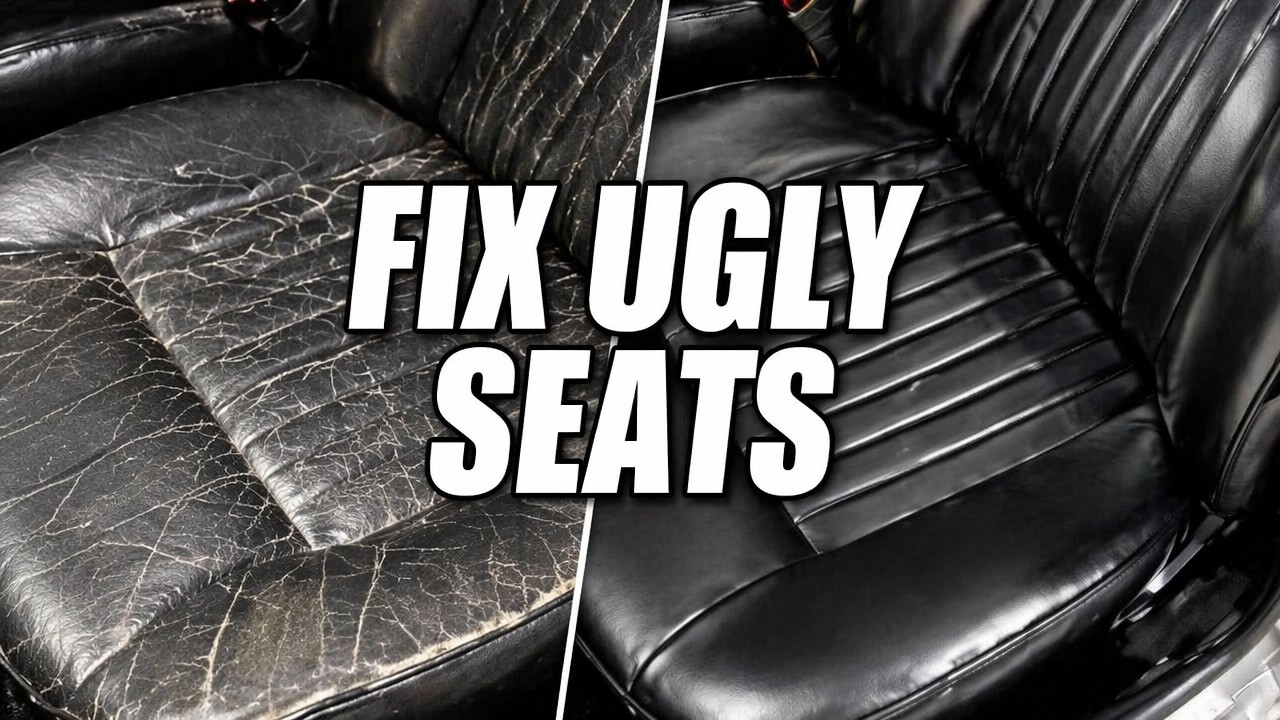
My old car’s original leather seats were cracked, torn and faded. Instead of paying to reupholster them, I repaired and redyed them myself.
These are the original seats, over 40 years old, and I don’t think anything was ever done to preserve them. The bolsters had major cracks, the color was gone, and the rear seats were tearing. I looked at reupholstering and at new seat covers, but this car isn’t worth a lot, so I tried the cheapest, quickest option: restore them. I used a filler and dye kit from leathertouchupdye.com (a Canadian company), plus cleaner, binder and top coat. The button goes to a Coconix leather and vinyl repair kit on Amazon, a similar filler-and-color kit for smaller jobs.
- The cracks, splits and tears disappeared
- Ebony dye covered white filler fast
- No color transfer in my testing
- No pulling seats, hog rings or clips
- Far cheaper than reupholstering
- Filler goes a long way
- Took several days with drying time
- Materials still came to about $300
- Matte top coat went on streaky and chalky on black
- Some filler spots faintly visible in certain light
- Leather binder is sticky; wear nitrile gloves
▶ Watch the full review on YouTube
Step 1: Deep clean and strip
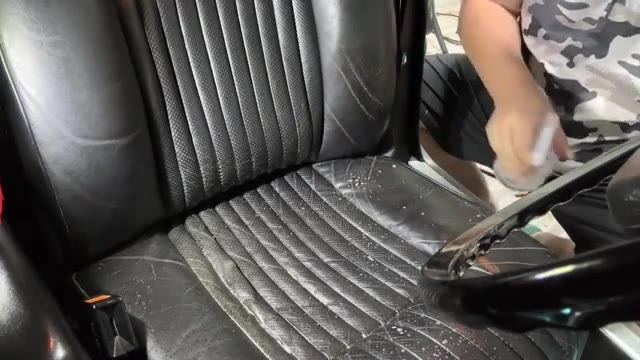
I used Leather Hero leather cleaner and preparer in a spray bottle, about one part solution to one part water, and scrubbed with a new horsehair brush, then wiped with a microfiber towel. Dirt came up on the cloth, and the seats went to a matte sheen, a sign the oils were coming out.
On a newer car you might be less aggressive. On these, I’d have taken sandpaper to them if I knew it would help.
Step 2: Leather binder to strengthen it
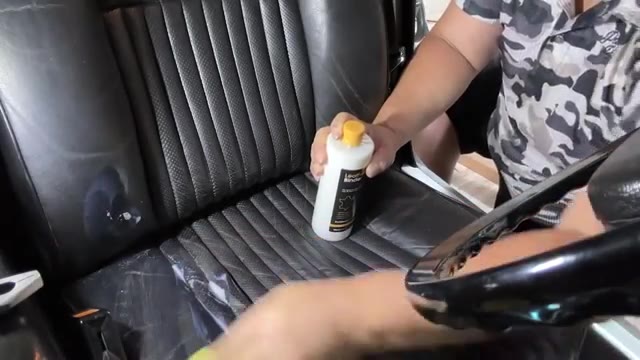
Next I used Furniture Clinic leather binder, a milky conditioner made to strengthen heavily worn, cracked leather. I applied it generously with a sponge, especially on the cracks, and the leather drank it up after 40-plus years. I did about three coats.
It dries clear and a little rubbery, like a resin for leather, a bit like resin in carbon fiber. On my hands it felt like pliable Elmer’s Glue, so wear nitrile gloves. The cracks already looked less obvious afterward.
Step 3: Fill the cracks
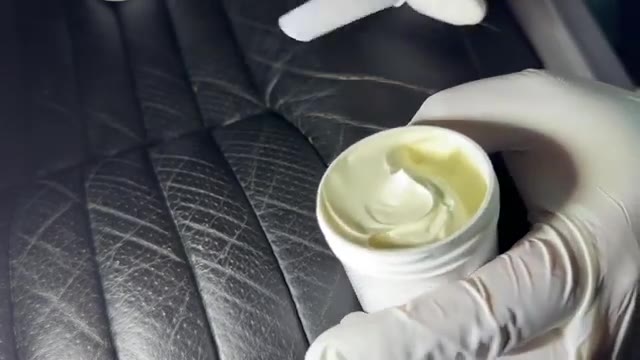
The filler from leathertouchupdye.com looks like mayonnaise. You basically spackle it into each crack, moving perpendicular to the crack to smooth it. I found a small starter bead and less-is-more worked best. If you have a tear that goes all the way through, put the included backing fabric behind it first.
It shrinks a little as it dries, so the deep cracks needed a second and third layer, a couple of hours apart. The next day it was dry but pliable, moving like leather, which is the point. Then I sanded the ridges with the 220-grit paper in the kit, vacuumed, and cleaned with a cleaner that has no conditioner so the dye would stick.
Step 4: Dye
I went with ebony (black) to cover everything. I dabbed dye on the filled areas first, then wiped it over the rest of the leather. It covered the white filler way quicker than I expected, and wiping didn’t look streaky.
After two coats I drove the car to check for color transfer, and there was none. In the right light you can faintly see a few filler spots, a slightly blue-black where the filler is smoother, but you have to hunt for them.
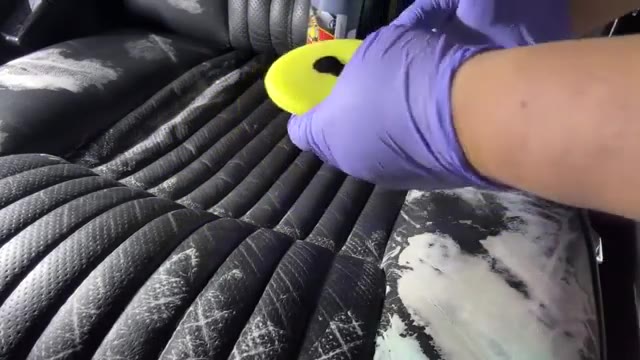
Step 5: Top coat, and my mistake
The top coat goes on with an applicator pad, the easiest step. But a couple of days later, under a flashlight, my seats looked dusted in chalk and streaky. I think I applied it too heavily and should have dabbed it, and on the darkest dye it stands out most.
A leather cleaner (Chemical Guys) didn’t change it, so I used leftover dye for two light coats over the top coat, and that fixed most of it. My advice: go very light on the top coat, and unless you want a very matte look, try the satin finish.
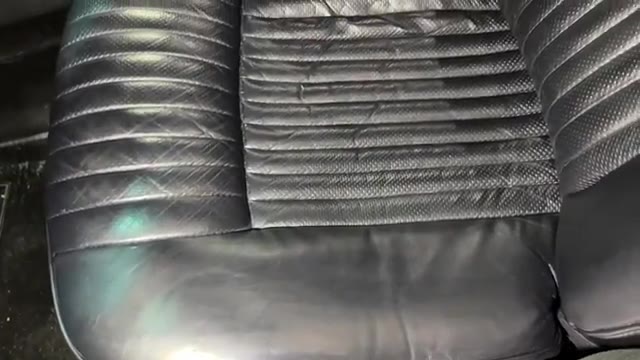
Results and cost
I can’t believe how these seats turned out. It doesn’t look reupholstered, but if you said these were 43-year-old original seats, nobody would believe you. I was all in at about $300 for materials, and I only used about 60% of the large filler.
If you have a newer car with one tear, bolster wear or a scuff, a small kit is probably plenty. You can get most of these materials between Amazon and leathertouchupdye.com.
FAQ
Can you repair cracked leather car seats yourself?
Yes. I cleaned, conditioned with a leather binder, filled the cracks with a flexible filler, sanded, dyed and top coated, over a few days.
How much filler do I need?
Less than you think. I used about 60% of a 2 oz kit on very bad seats; a 1 oz kit is likely plenty for a newer car.
Does leather dye rub off on clothes?
I couldn’t get mine to transfer, even with black dye.
Matte or satin top coat?
Go light either way. My matte coat went on streaky over black, so I’d try satin.
How much did it cost?
About $300 in materials for front and rear seats.


Leave a Reply