#ad: This post contains affiliate links. As an Amazon Associate I earn from qualifying purchases.
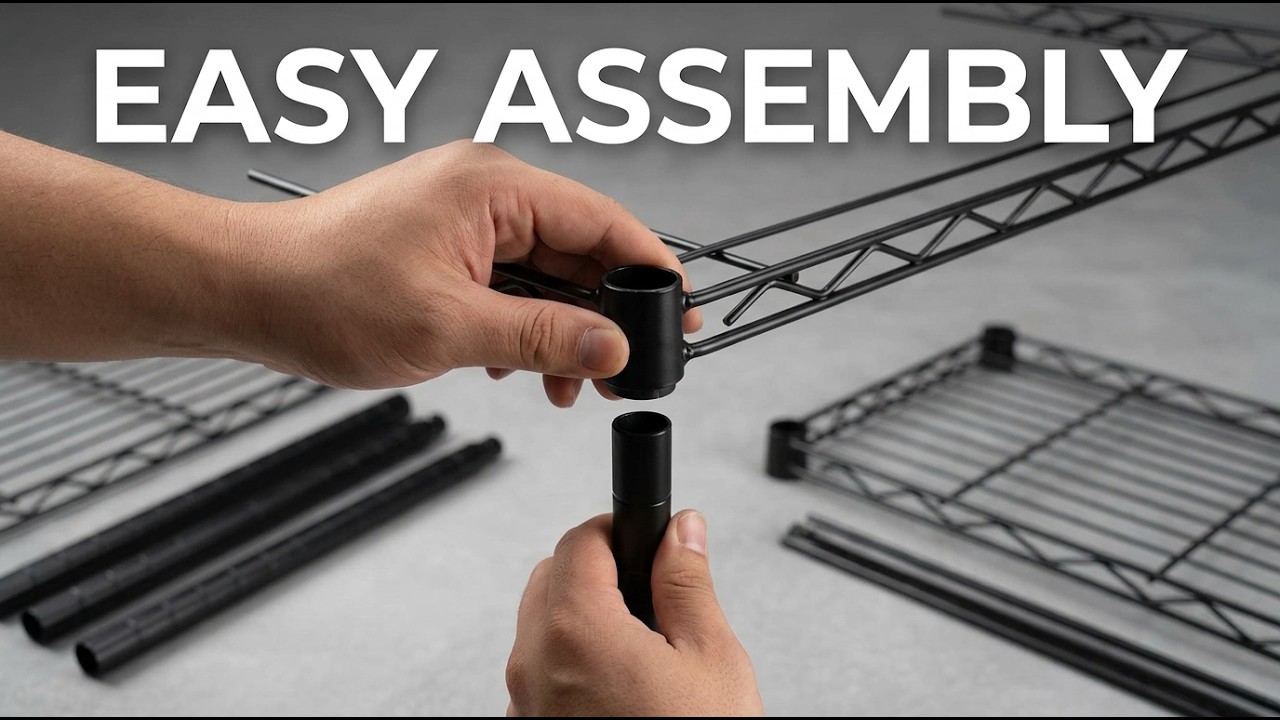
Wire shelving is cheap and useful, but those little plastic sleeves confuse a lot of people. Here’s the full assembly, start to finish.
I got some flak last time for not showing how to put one of these together, so I built the Amazon Basics 3-shelf black unit on wheels on camera. I got it for under $30.
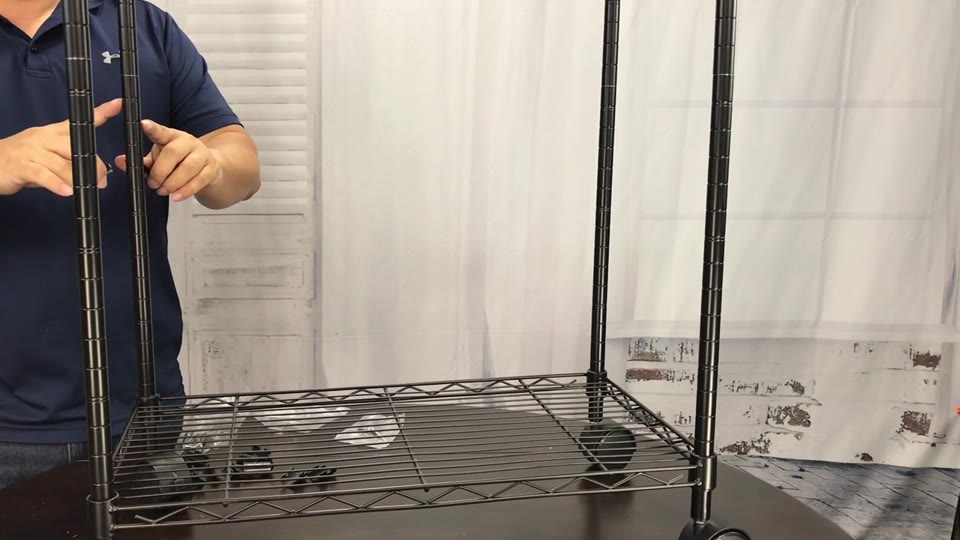
- Cheap, sturdy and easy to put together
- Adjustable shelf heights
- Locking wheels
- Open design so you can see everything
- Spare set of sleeves included
- Sleeves only fit one way, so watch the TOP marking
- Lift by the posts, not the shelves, or the shelf pops off
▶ Watch the full review on YouTube
What’s in the box
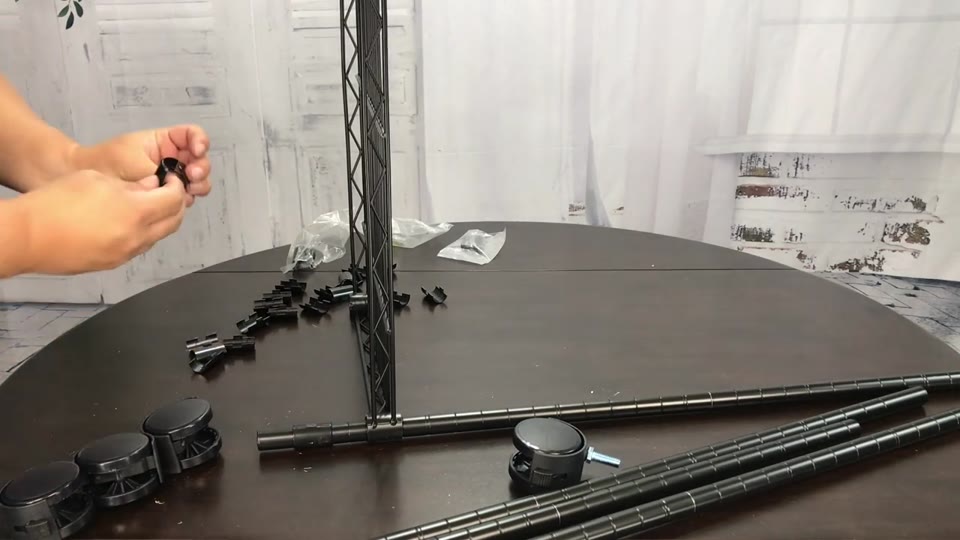
Three trays, four legs in two pieces each, four wheels, the plastic sleeves and a small wrench. Everything is wrapped up well so it arrives pristine.
Before you start: tops and bottoms
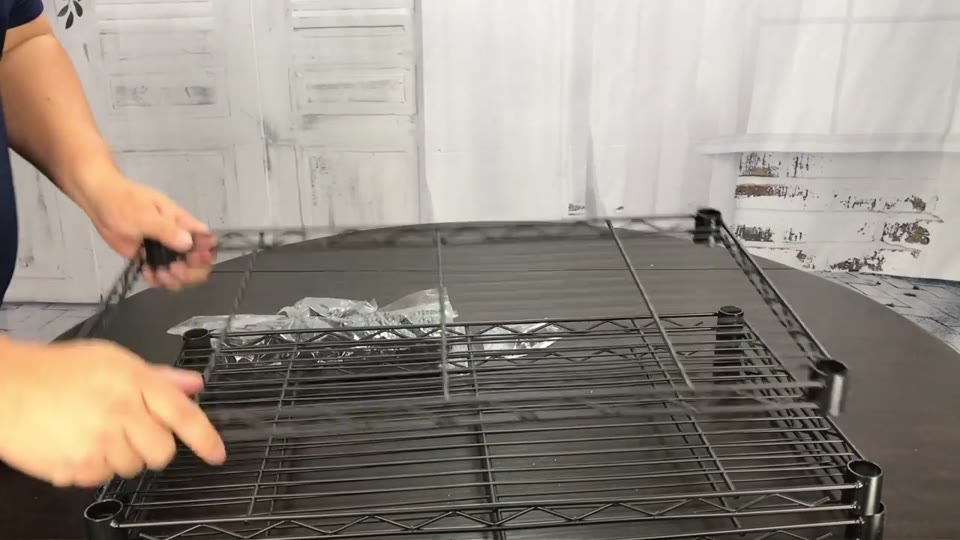
The shelves have a top: the smooth grille side goes up, since the bars underneath would get in the way of whatever you set on them.
The legs are marked top and bottom. The longer pieces go on the bottom, and the top pieces have a threaded stud that screws into them. Mine weren’t fully screwed into the top pieces, so hand-tighten those too.
How the sleeves work
Each post has grooves cut around it. The plastic sleeves have a molded ridge that snaps into a groove, and the sleeves only fit one way, marked TOP.
The holes in the shelf corners are tapered, so the weight of the shelf squeezes the sleeves onto the post. It’s like tying a knot in a rope and pulling on it: the more weight, the tighter it locks.
Step-by-step assembly
- Screw the top leg pieces into the bottom pieces on all four legs.
- Snap two sleeves around the lowest groove on each leg, TOP side up.
- Slide the bottom shelf down over all four posts onto the sleeves and push it down to lock.
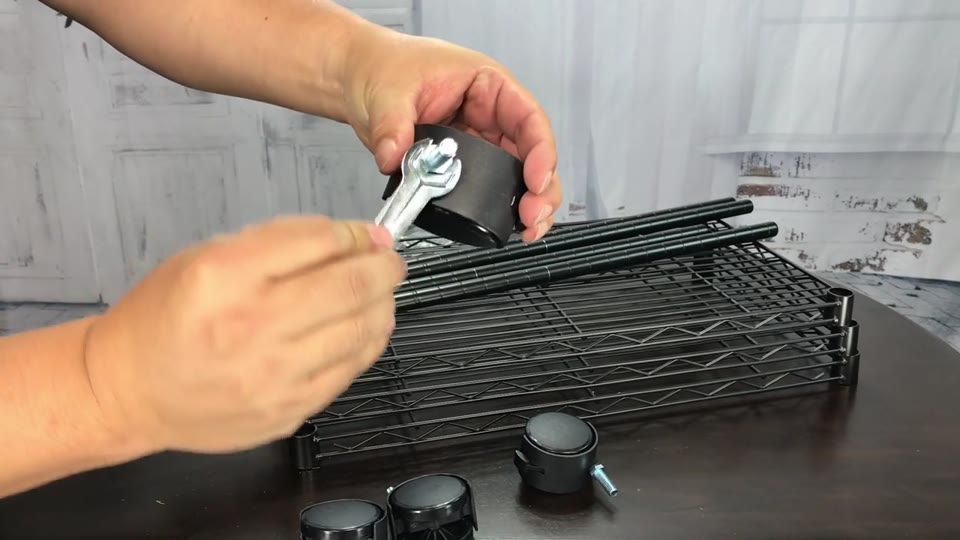
- Screw a wheel into the bottom of each post. Tighten on the bolt itself, because spinning the wheel does nothing. Use the included wrench.
- For the other shelves, pick the same groove on every leg; the single and double rings help you count. I set the middle shelf one notch below a double ring and the top shelf as high as possible.
- Lower each shelf gently so you don’t knock the sleeves out of the grooves, then tap it down.
Locking wheels and moving it
The casters have a brake. Flip the switch up to roll freely, and push it down to lock it in place once it’s where you want it.
When you move it, grab it by the posts, not the shelf, or you’ll lift the shelf right off.
Verdict
It’s a really solid, open, airy unit that fits in closets, attics and offices. Being able to adjust the shelves is great, like putting a printer on the bottom with paper and supplies above. For under $30 with wheels, I’m pretty happy with it.
FAQ
Which side of the wire shelf goes up?
The smooth side.
How do the plastic sleeves work?
They snap into a groove on the post, and the shelf’s tapered corner squeezes them tight as weight is added.
Do the wheels lock?
Yes. Push the brake switch down to lock.
Are spare sleeves included?
Mine came with one extra set.


Leave a Reply